


Premium Bokashi Bran Compost Starter
Regular price
$17.70
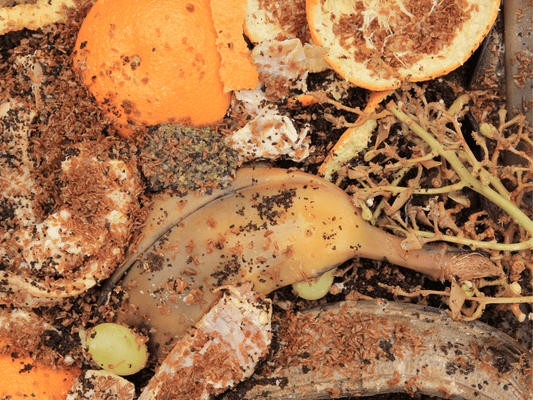
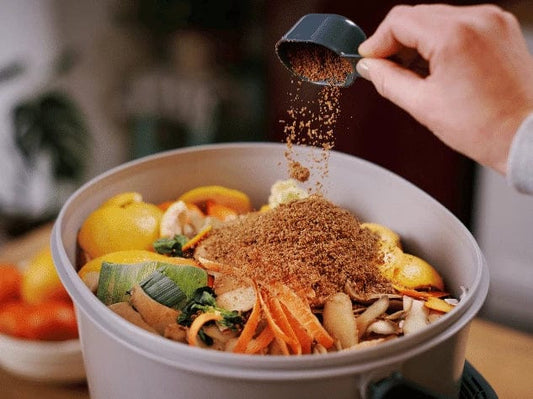
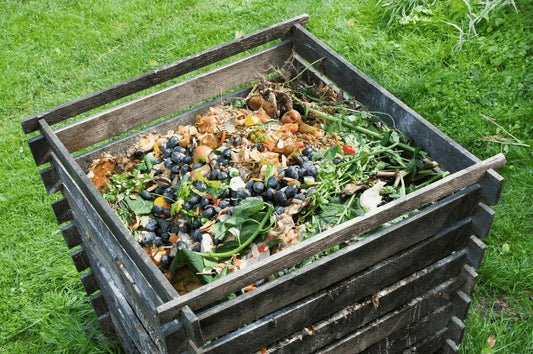
TeraGanix Premium Bokashi Bran is a compost starter made from high-quality bran fermented with consortium microbes. With a broad spectrum of bacteria strains, this product is ideal for accelerating composting, promoting soil health and effectively suppressing unpleasant odors, making it the only Bokashi of its kind on the market. Effortlessly enhance your composting journey by adding it to your Bokashi bucket or outdoor compost pile, ushering in a healthier and more enjoyable composting experience.
Our heavy-duty, resealable stand-up pouches are constructed with an oxygen barrier that keeps your Bokashi fresh for up to 12 months. Use Bokashi Bran for outdoor composting, Bokashi composting, odor control, potting soils, and as a soil amendment in your garden.
UPS and USPS can deliver most items within 3–5 business days. UPS is unable to deliver to P.O. boxes.
Concession rates: We offer a lower than normal rate on all products.
Expedite delivery rates are calculated at checkout.
At TeraGanix, we take great pride in the quality of our products. Upon receipt of your item, please inspect your purchase and notify us of any damage; we will arrange for a prompt replacement.Within 30 days, you may return your items for a refund of the merchandise value.
Gardening and Compost Directions
Don't forget! The products that you viewed. Add it to cart now.
Here’s some of our most similar products people are buying. Click to discover trending style.