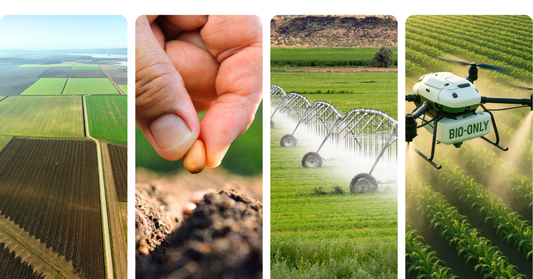
Inoculating Biochar with Effective Microorganisms (EM•1®)
Many of our customers are using biochar as a part of their growing practices. Inoculating biochar with Effective Microorganisms (EM•1®) is one technique that really supercharges the benefits of the biochar.
Think of raw biochar as a fantastic, long-lasting empty hotel for microbes. It has an incredibly porous structure that's perfect for holding water, air, and providing shelter. However, on its own, it's often relatively inert, without a robust existing microbial population or a ready supply of nutrients.
When you inoculate biochar with activated EM•1®, you are essentially checking in beneficial guests and providing them room service.

Benefits of Inoculating Biochar
1) Create a Microbial "Hotel"
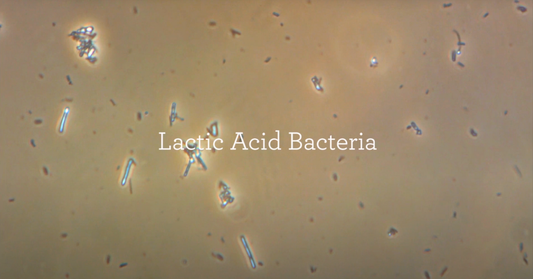
EM•1® introduces a diverse and active community of beneficial microorganisms directly into biochar's pores. This turns the biochar into a living "microbial hotel" that you can then introduce to your soil.
2) Nutrient Loading/Activation
The inoculation process (often done with EM-1 mixed in compost tea or other nutrient-rich solutions) allows the biochar to absorb nutrients into its pores. The EM•1® microbes then help to bind and make these nutrients even more available to plants.
3) Enhanced Soil Biology
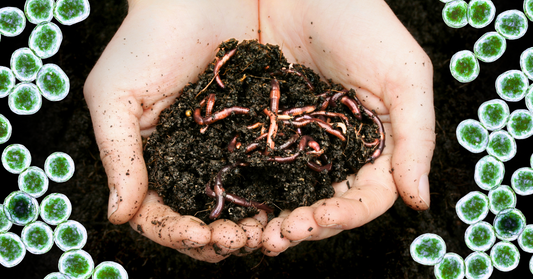
When this "charged" biochar is added to your garden, it doesn't just improve soil structure; it actively seeds the soil with a thriving, beneficial microbial community. This accelerates nutrient cycling, improves soil aggregation, and boosts overall soil health.
4) Improved Effectiveness & Longevity
The combination means you're getting more active and sustained benefits from both products. The biochar provides a stable, protected home for the EM•1® microbes, potentially extending their beneficial activity in the soil.
The core idea is to "charge" the porous biochar with beneficial microbes and nutrients to make it a more effective soil amendment.

Recommended Application Notes for Inoculating Biochar with EM•1®:
Step 1: Prepare the Biochar:
-
Start with high-quality biochar.
-
If you have large clumps, break them up to increase the surface area available for microbial colonization.
Step 2: Dilute EM•1®:
-
Mix your EM•1® with unchlorinated water.
-
A common and effective dilution rate is 1 part activated EM•1® to 10-20 parts water (e.g., 1 gallon of activated EM•1® with 10-20 gallons of water).
Step 3: Inoculation Methods:
There are a few effective ways to get the EM•1® onto and into the biochar:
-
Soaking: For smaller batches, fully submerge the biochar in the diluted EM•1® solution.
-
Spraying: For larger quantities, spray the biochar evenly with the diluted EM•1® solution, ensuring all surfaces are moistened.
-
Mixing with Nutrient-Rich Materials (Recommended): This is often the most effective method. Mix the biochar thoroughly with other nutrient-rich materials that have already been treated with or contain EM•1® microbes. Excellent choices include:
-
Finished compost
-
Compost tea (made with EM•1®)
-
Diluted organic liquid fertilizers
Step 4: Incubation (Crucial Step):
-
After inoculation, allow the biochar to sit and "incubate" for a period of time. This allows the microorganisms to colonize the biochar's porous structure and for the biochar to absorb nutrients.
-
Duration: This typically ranges from a few days to a few weeks. Longer incubation generally leads to better colonization.
-
Maintain Moisture: Keep the biochar mixture consistently moist during this incubation period, but ensure it's not waterlogged.
Why this process is important:
-
Nutrient Loading: Biochar on its own is primarily carbon and relatively inert. Activation pre-loads it with readily available nutrients that plants can use, often by binding them to the biochar's surface.
-
Microbial Colonization: The EM•1® microbes populate the internal pores of the biochar, turning it into a "microbial hotel." This creates a thriving habitat for beneficial microbes that will then be introduced directly into your soil.
-
Enhanced Effectiveness: Inoculated biochar is far more effective at improving soil health, nutrient cycling, water retention, and overall plant growth compared to raw, uninoculated biochar.
By following these steps, you're turning biochar into a powerhouse for your soil, supercharging its benefits through the actions of the EM•1® microbes.

Other Key Considerations
Use Activated EM•1®:
Using activated EM•1® will ensure you're introducing a potent, active, and balanced microbial population.
Use Unchlorinated Water:
For both the EM•1® activation itself and the dilution used for inoculating the biochar, always use unchlorinated water (e.g., rainwater, well water, or tap water that has sat out for 24 hours to off-gas chlorine). Chlorine will kill the beneficial microbes.
Maintain Moisture During Incubation:
The biochar mixture needs to stay consistently damp (like a wrung-out sponge) during the incubation period. If it dries out, the microbes will go dormant or die, reducing the effectiveness of the inoculation.
Avoid Waterlogging:
Conversely, don't let the biochar become waterlogged or sit in standing water. This can create overly anaerobic (stinky, putrefactive) conditions that are not ideal for the beneficial EM•1® consortium.
Optimal Temperature for Incubation:
While the microbes are hardy, they colonize best in moderate temperatures, generally between 60-95°F (15-35°C). Avoid extreme cold or excessive heat during incubation.

Thorough Mixing:
Ensure the activated EM•1® solution, and any other organic matter you're mixing in, is evenly distributed throughout the biochar. Every piece of biochar should come into contact with the microbes.
Smell is Your Friend:
A successfully inoculated and fermenting biochar should have a pleasant, earthy, sweet, or yeasty/fermented aroma. If it smells foul or rotten, something went wrong, and it might be best to re-evaluate the process.
Patience for Soil Results:
While the biochar inoculation itself might take a few days to weeks, seeing dramatic changes in your garden soil from the application of inoculated biochar will take time – often a full growing season or more for significant structural improvements.
Store Properly Post-Inoculation:
Once inoculated and incubated, store your "charged" biochar in a breathable container (like a burlap sack or a tarp-covered pile) in a cool, dark place. Keep it slightly moist. This helps the microbes remain viable until you're ready to apply it to your soil.
Integrate with Other Organic Practices:
Inoculated biochar is a powerful tool, but it works best as part of a holistic soil health strategy. Continue adding compost, mulching, and practicing other regenerative techniques to feed and support the thriving microbial community you're building.

When to Add Biochar To Your Compost
The best time to add biochar is during the stabilization phase of composting, or when you are actively turning or building the pile and aiming for a cool, curing environment.
Here is a breakdown of why, and the two best ways to incorporate it:
Why Timing Matters for Biochar
Biochar is a highly porous material that needs to be "charged" or "inoculated" to work effectively.
1 Adding it directly to a steaming hot pile is less efficient because:
- Heat Can Be Detrimental: Biochar's primary function is to act as a microbial hotel and nutrient sponge. Placing it in the thermophilic (hot) phase (above 130°F) risks slowing down the heat process and doesn't allow the beneficial microbes to colonize the pores properly.
- Charging is Key: Biochar is most effective when it soaks up nutrients and beneficial microbes from the surrounding compost, filling its porous structure.
Optimum Application Times
1. During Pile Construction (Ideal Time)
- Timing: When you are actively building a new pile or adding fresh layers of material (manure, grass, scraps).
- Method: Sprinkle or mix the biochar evenly with high-nitrogen materials (like manure or food scraps) before adding them to the pile.
- Rationale: The biochar is immediately mixed with nutrient-rich material, allowing it to start absorbing nutrients and moisture right away. This is the most effective way to ensure uniform charging.
2. During Stabilization and Curing
- Timing: After the pile has gone through its hot phase and the temperature has begun to fall and stabilize (below 90°F).
- Method: Spread the biochar over the exposed surface of the pile and mix it in thoroughly during the final turning or during the curing period (before you plan to apply the compost).
- Rationale: At this stage, the compost is rich in beneficial microorganisms and humic substances. The cool temperatures allow the microbes to rapidly colonize the pores of the biochar, "charging" it fully with microbial life before it goes into the garden.
Tags: